
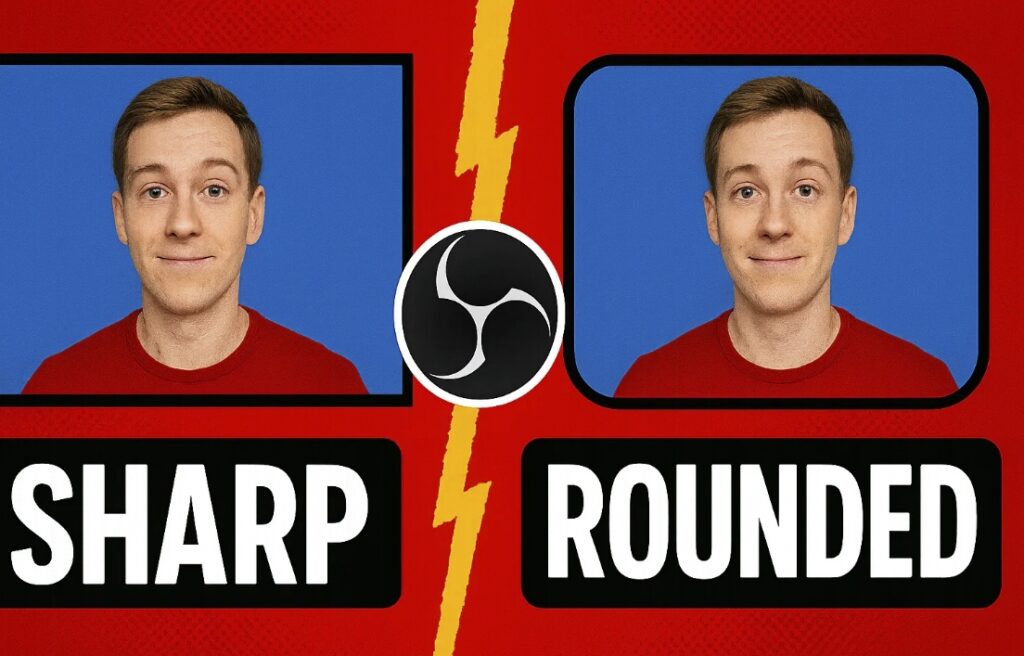
Okay, let’s get those sharp webcam corners rounded for a smoother, more modern look in your OBS Studio stream or recording! This tutorial will guide you step-by-step using the most common and flexible method: an Image Mask.
Goal: To make the square/rectangular corners of your webcam (or any other video source) appear rounded within OBS.
Method: We’ll create a simple image file with rounded corners (the “mask”) and tell OBS to use it to shape our webcam feed.
What You’ll Need:
- OBS Studio: Make sure it’s installed and running.
- A Simple Image Editor: You don’t need Photoshop! Free options work perfectly:
- Online: Photopea.com (like free Photoshop in your browser), Canva.com
- Desktop (Free): GIMP, Krita, Paint.NET (Windows only)
- Even Microsoft Paint 3D or PowerPoint can work in a pinch!
That’s it.
Tutorial
Part 1: Create Your Rounded Corner Mask Image
This is the most crucial part. We need to create a shape that OBS will use to “cut out” your webcam feed.
- Open Your Image Editor: Choose one from the list above (we’ll use generic steps that apply to most).
- Create a New Image:
- Size: This is IMPORTANT! The mask image should ideally have the same aspect ratio as your webcam source in OBS. Common webcam aspect ratios are 16:9 (like 1920×1080, 1280×720) or 4:3. If you’re unsure, 16:9 is a safe bet for most modern webcams.
- Tip: You don’t need a huge resolution for the mask. 800×450 (16:9) or 640×480 (4:3) is often plenty. Let’s use 800×450 for this example (16:9).
- Background: Set the background to Transparent. If your editor doesn’t easily support transparency, make the background Black.
- Size: This is IMPORTANT! The mask image should ideally have the same aspect ratio as your webcam source in OBS. Common webcam aspect ratios are 16:9 (like 1920×1080, 1280×720) or 4:3. If you’re unsure, 16:9 is a safe bet for most modern webcams.
- Draw the Rounded Rectangle:
- Find the “Shape” tool in your editor. Select the “Rectangle” or “Rounded Rectangle” tool.
- Fill Color: Set the fill color to White.
- Stroke/Outline: Set the stroke/outline to None or transparent.
- Corner Radius: Look for a “Corner Radius,” “Roundness,” or similar setting for the rectangle tool. Increase this value until you get the corner roundness you like. Experiment! A value between 20px and 50px (on our 800×450 canvas) is usually a good starting point.
- Draw the rounded rectangle so it fills most of your canvas, leaving only the transparent (or black) background visible outside the rounded shape. Make sure it touches or almost touches the edges of the canvas on all four sides.
- Result: You should have a solid white rounded rectangle centered on a transparent (or black) background.
- Save the Mask Image:
- Go to File -> Save As or File -> Export.
- Format: Choose PNG. This is essential, especially if you used a transparent background, as PNG supports transparency.
- Filename: Give it a clear name, like webcam-mask-rounded.png.
- Location: Save it somewhere you can easily find it later (e.g., a dedicated OBS Assets folder).
If you want, you can also use my mask (for FullHD)
Part 2: Apply the Mask in OBS Studio
Now we’ll tell OBS to use the image we just created.
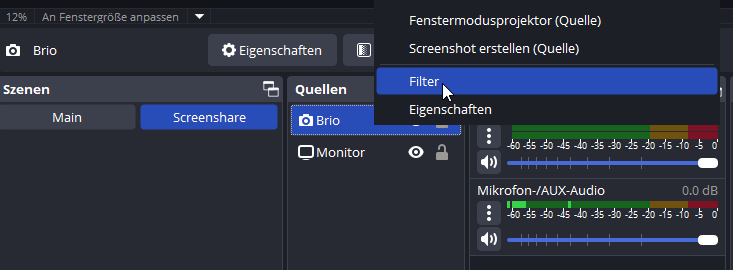
- Select Your Webcam Source: In your OBS “Sources” dock (usually bottom-left), click on your Webcam source to select it. You should see the red bounding box appear around it in the preview window.
- Open Filters: Right-click on your webcam source in the “Sources” list and select Filters. (Alternatively, select the source and click the “Filters” button in the toolbar above the sources list).
- Add an Effect Filter: In the Filters window, you’ll see two sections (“Audio/Video Filters” and “Effect Filters”). Under Effect Filters, click the + button (bottom left).
- Choose the Mask Filter: From the list that pops up, select Image Mask/Blend.
- Name the Filter: Give it a descriptive name, like “Rounded Corners Mask”, and click “OK”.
- Configure the Filter: Now you’ll see the settings for the Image Mask/Blend filter:
- Type: Click the dropdown menu. You have a few options, but the best ones for this are:
- Alpha Mask (Alpha Channel): Choose this if you saved your mask with a transparent background. The transparency in your PNG file will define the shape.
- Alpha Mask (Color Channel): Choose this if you saved your mask with a black background and a white shape. OBS will use the white area to show your webcam and the black area to hide it.
- (Start with Alpha Mask (Alpha Channel) if you used transparency, otherwise try Color Channel.)
- Path: Click the Browse button. Navigate to where you saved your webcam-mask-rounded.png file and select it. Click “Open”.
- Type: Click the dropdown menu. You have a few options, but the best ones for this are:
- Observe the Preview: As soon as you select the mask file, you should see your webcam source in the main OBS preview window instantly change shape! Its corners should now be rounded according to the white shape in your mask image.
- Close the Filters Window: Click the “Close” button on the Filters window.
Troubleshooting & Tips:
- Mask Not Working / Webcam Disappears:
- Double-check the Type setting in the filter. If you used a black background/white shape, ensure you selected “Alpha Mask (Color Channel)”. If you used transparency, ensure “Alpha Mask (Alpha Channel)”.
- Make sure you selected the correct PNG file in the Path.
- Ensure your mask image is definitely white shape on a black/transparent background. If it’s inverted (black shape on white), it will hide the wrong parts.
- Corners Look Jagged/Pixelated: Your mask image resolution might be too low relative to how large your webcam source is scaled in OBS. Try creating the mask image at a slightly higher resolution (e.g., 1280×720) while keeping the aspect ratio the same.
- Webcam is Stretched or Squished Inside the Mask: This happens if the aspect ratio of your mask image (e.g., 16:9) doesn’t match the aspect ratio of your webcam source as it’s configured in OBS.
- Check Source Properties: Right-click your webcam source -> Properties. Note the resolution/aspect ratio it’s using.
- Fix: Either re-create your mask image with the correct aspect ratio OR adjust your webcam source size/aspect ratio in OBS before the mask filter is applied (e.g., using cropping/padding within the source transform settings, though this is more advanced). Creating the mask with the correct aspect ratio is usually easier.
- Adjusting Roundness: Want more or less rounded corners? You’ll need to go back to your image editor, adjust the corner radius of the shape, re-save the PNG (overwriting the old one is fine), and OBS should update the mask automatically. If not, re-browse for the file in the filter settings.
- Applying to Other Sources: This technique works for any visual source in OBS, not just webcams! Game captures, images, video files, display captures – just apply the filter to that specific source.
Conclusion:
That’s it! You’ve successfully rounded the corners of your webcam source in OBS Studio using an Image Mask. It adds a clean, professional touch to your layout. Play around with different corner radiuses in your mask image until you find the look you love!